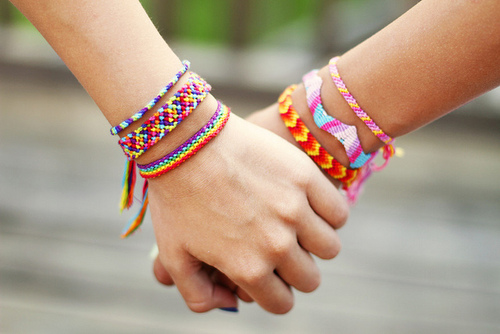
The Nostalgia of Friendship Bracelets
photo source unknown
When I think of friendship bracelets, I think of wrists stacked deep with fading color and frayed ends, hard work and hours spent sitting and braiding and twisting and knotting. It brings forth many dear memories and reminds me of the magic of childhood.
My kiddo became quite interested in making his own over the past year and we have spent a great deal of time figuring out systems and instructions for creating bracelets in our house, on plane rides, at the beach, and camping in the backyard. One of our favorite is using a cardboard circular loom.
Here’s the how-to:
Supplies You’ll Need:
cardboard circle about 4-5” diameter
7 strands of thin yarn or embroidery floss in the colors of your choosing (approx. 24” in length each)
scissors
bead or button for clasp
marker/pencil
ruler
Begin by finding center of cardboard and dividing the circle into 8 equal sections (see pic below).
Next, cut a slit about 1/4” deep into each line (see pic below).
Gather your 7 strands of string and tie a slip knot at the end (see pic below).
Next, feed slip knot through center of cardboard (poke a hole) and tape/affix slip knot to the underside so as not to pull through while working.
Next, splay each thread into it’s own slot. You’ll have one empty slot. It is important to take note of the numbers. You will be moving each string over one into the empty slots and rotating the loom as your progress. If you would like a video demo, check out our DIY highlight reel over on Instagram
photo source Pinterest
photo source Pinterest
Continue to bring each string over top the next and into the empty slit. As you progress, your bracelet will begin to form from the underside. Continue working until you’ve reached the desired length. Tie off the end by attaching a button or a bead and then use the slip knot to close over the button or bead.
This is a little hippo button with an opening on the reverse that the bracelet was tied to. The slip knot went over the hippo and is adjustable.


